We love visiting the aquarium with our kids. Everything is kept dark inside, and you can get right up and put your nose against the glass to see fish, sharks, and other creatures. My daughter can really see everything. Visiting the zoo is a little tougher. If the animals are at the back of their enclosure, even big ones like elephants can be hard for my daughter to see. Zoom on an ipad doesn’t work outside in the bright sun where no one can see the screen. So an obvious solution seems like binoculars or a monocular. I’ve heard on the Yahoo group that binoculars are better than monoculars, but we’ve had so much trouble getting either to work that I decided to start with monoculars because they are what we could get help with from low-vision experts locally.
We’ve tried a variety of monoculars and binoculars, and my daughter could see with them inside the house no problem. But as soon as we stepped outside, we just couldn’t get them to work for her. Without her glasses it would be too bright. But with them she couldn’t see either. The problem seems to be twofold: first even with the eye cups rolled down for use with glasses, my daughter’s glasses keep the monocular away from her eye, reducing her field of view. That makes finding what she is trying to look at that much harder, which is difficult enough for a small child. Second, a monocular already cuts out some light. So with her regular outside glasses and the monocular both blocking light, it was actually too dark for her to see. But looking through the monocular with her inside glasses was still too light.
After much trial and error, we’ve finally hit upon a solution that works. Hooray! Thanks to Bob McGillivray, Director of Low Vision Services at the Carroll Center for the Blind and Terry at their low vision store for helping us get there!
We got two 8×20 monoculars from the Carroll Center store, pretty much the same as this one that you can get at MaxiAids. (Actually one is 8×20 and the other 8×21 as we bought them at different times and the models changed. 8x is the magnification, 20mm is the objective lens diameter. They have a 7.2° field of view.)
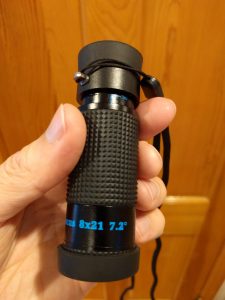
Reizen Extra Short Focus Monocular 8×21, 7.2 degree field of view
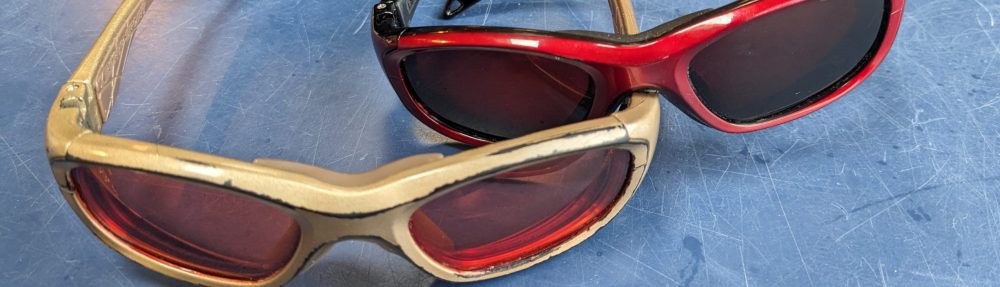
Next, and this is the important part: We found that NoIR lens #570 39% Dark Red/Orange is just right for use with this monocular. We went outside on a sunny day at the Carroll Center with the monocular and a full set of NoIR lenses. This is the NoIR filter that when held over the end of the monocular let my daughter see. It makes sense too–it is the one that my daughter found to be too dark inside but too light outside when used on its own. Apparently that makes it a perfect complement to this particular monocular.
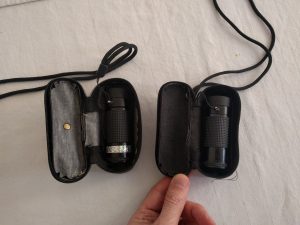
So Terry cut down the lens (by hand as the lens cutting machines do not go this small normally!) to the diameter of the monocular. Then I used superglue (the gel kind, not the runny kind) to glue the NoIR lens over the end of one of the monoculars (the end you put your eye to seemed best). Now my daughter has two monoculars, one for inside use, and one for outside use with the NoIR filter on the end. We use glitter tape to help her tell them apart. You can see them in their cases and out, the glitter tape marks the one for outside use that has the NoIR filter on it–you can see it in the picture on the left-hand side.
Left-hand side: Outside monocular with NoIR 570 filter. Right-hand side: Inside monocular.
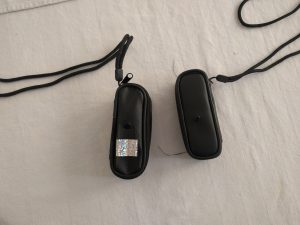
In their cases, glitter tape marks the outside monocular.
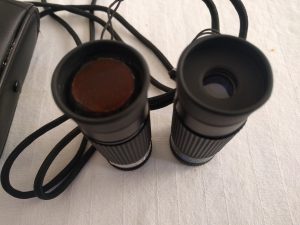
Now my daughter uses it every week during her O&M lessons. Even better would be a cap that could come on and off so that she only needed to carry one monocular with her. In fact that is what Bob McGillivary and Terry made for us first, you can see it here where the NoIR filter is inset into the monocular’s rubber lens cap:Unfortunately, as I didn’t devise any kind of lanyard for the cap my daughter lost it after a few months. Hard to blame her for that. So now that its glued on permanently, she can’t lose it without losing the whole monocular.
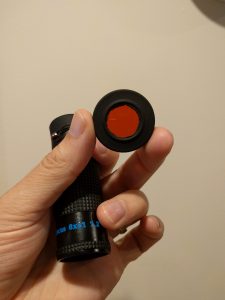
The NoIR lens cap Bob McGillivray and Terry made for us originally that was unfortunately lost. It needed a lanyard like my car’s gas cap!