Note, If you haven’t read the overview on Making Braille Books at Home, start there.
The most straightforward way to make a braille book is with braille label paper. Get some easy readers your child is interested in and some braille label paper. Use your paper cutter to cut braille label sheets in half. Check that a half sheet will fit on one of your easy-reader pages. You may need to trim it to be a bit smaller, depending on the book. Insert braille label half-sheets into your Perkins brailler and braille each page. Many easy readers have so few words, you’ll be able to fit 2 or more pages on each half sheet of label paper. I add a double space between pages, so its easy to see where to cut with the paper cutter. Then stick them into the book. That’s it, apart from a few tips:
- A a paper cutter is definitely worth it
- Watch you margins. The Perkins brailler by default gives a decent sized left-hand margin. For most easy readers I found it necessary to trim this margin off with the paper cutter after brailling the page. For larger easy readers where trimming wasn’t necessary, I would load the paper in a little to the right, to shrink the margin and have more space for text.
- With 5.5 inch wide pages, you will have a lot of line breaks. I like to avoid breaking a word across lines. You can avoid this by counting characters, but my most common mistake was starting a word that didn’t fit on the line. Erasing is hard on label paper, so I would cross these errors out with a sharpie, and then cut them out with scissors from the right-hand edge.
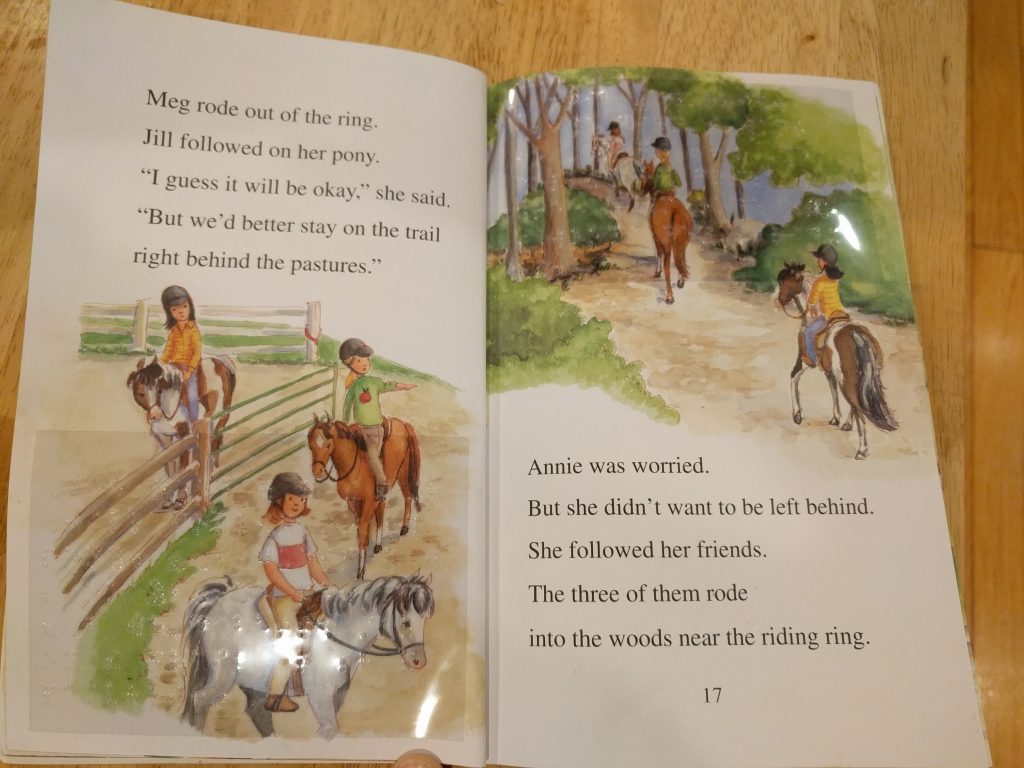
Example finished product (The Trail Ride by Catherine Hapka):